Showing posts with label side dishes. Show all posts

Tuesday, June 26, 2012

Quinoa and Cucumber Salad with Zesty Garlic Dressing

This recipe came to me after reading about tons of fresh, summery salads made from cooked grains. It was the beautiful union of several ideas, yielding a simple and fresh recipe that was suited to what I had on hand. I have been trying to get in the habit of cooking extra quinoa to store in the fridge to use later. I love re-frying it in butter and salt and pepper and serving it with scrambled eggs for breakfast. It is healthy and delicious, and I feel good about what my family is eating.
There are so many perks with this one, I don't even know where to begin. It can be made hours in advance and kept in the fridge, and it only tastes better because the veggies get to marinate in the dressing. It is perfect for a picnic, potluck, or barbeque, because there is no mayo, so no risk of that spoiling. You could change up the ingredients any way you like. As is, the recipe is vegetarian, vegan, preservative-free and loaded with whole grains and fresh veggies. And there is no compromise in flavor with this tangy lemon and garlic dressing. 

Give it a try and tell me what you think.

Quinoa and Cucumber Salad with Zesty Garlic Dressing
2 cups cooked quinoa
1 English cucumber, chopped in a thick dice
1 roma tomato, diced
1 can olives, drained

for the dressing

1/4 cup olive oil
1/2 cup lemon juice
3 minced cloves of garlic
1 teaspoon salt
1/2 teaspoon pepper

Allow the quinoa to cool. Combine dressing ingredients in a mason jar and shake well or whisk in a bowl. Lightly dress the quinoa, then add other ingredients. Add remaining dressing and salt and pepper. Taste and adjust seasoning as necessary.

Thursday, June 16, 2011

A little corny

The recipe I'm writing today is actually on my blog right now. It's in the On the Table, seasonal fruits and veggies section, but I wanted it in the eternal archives.
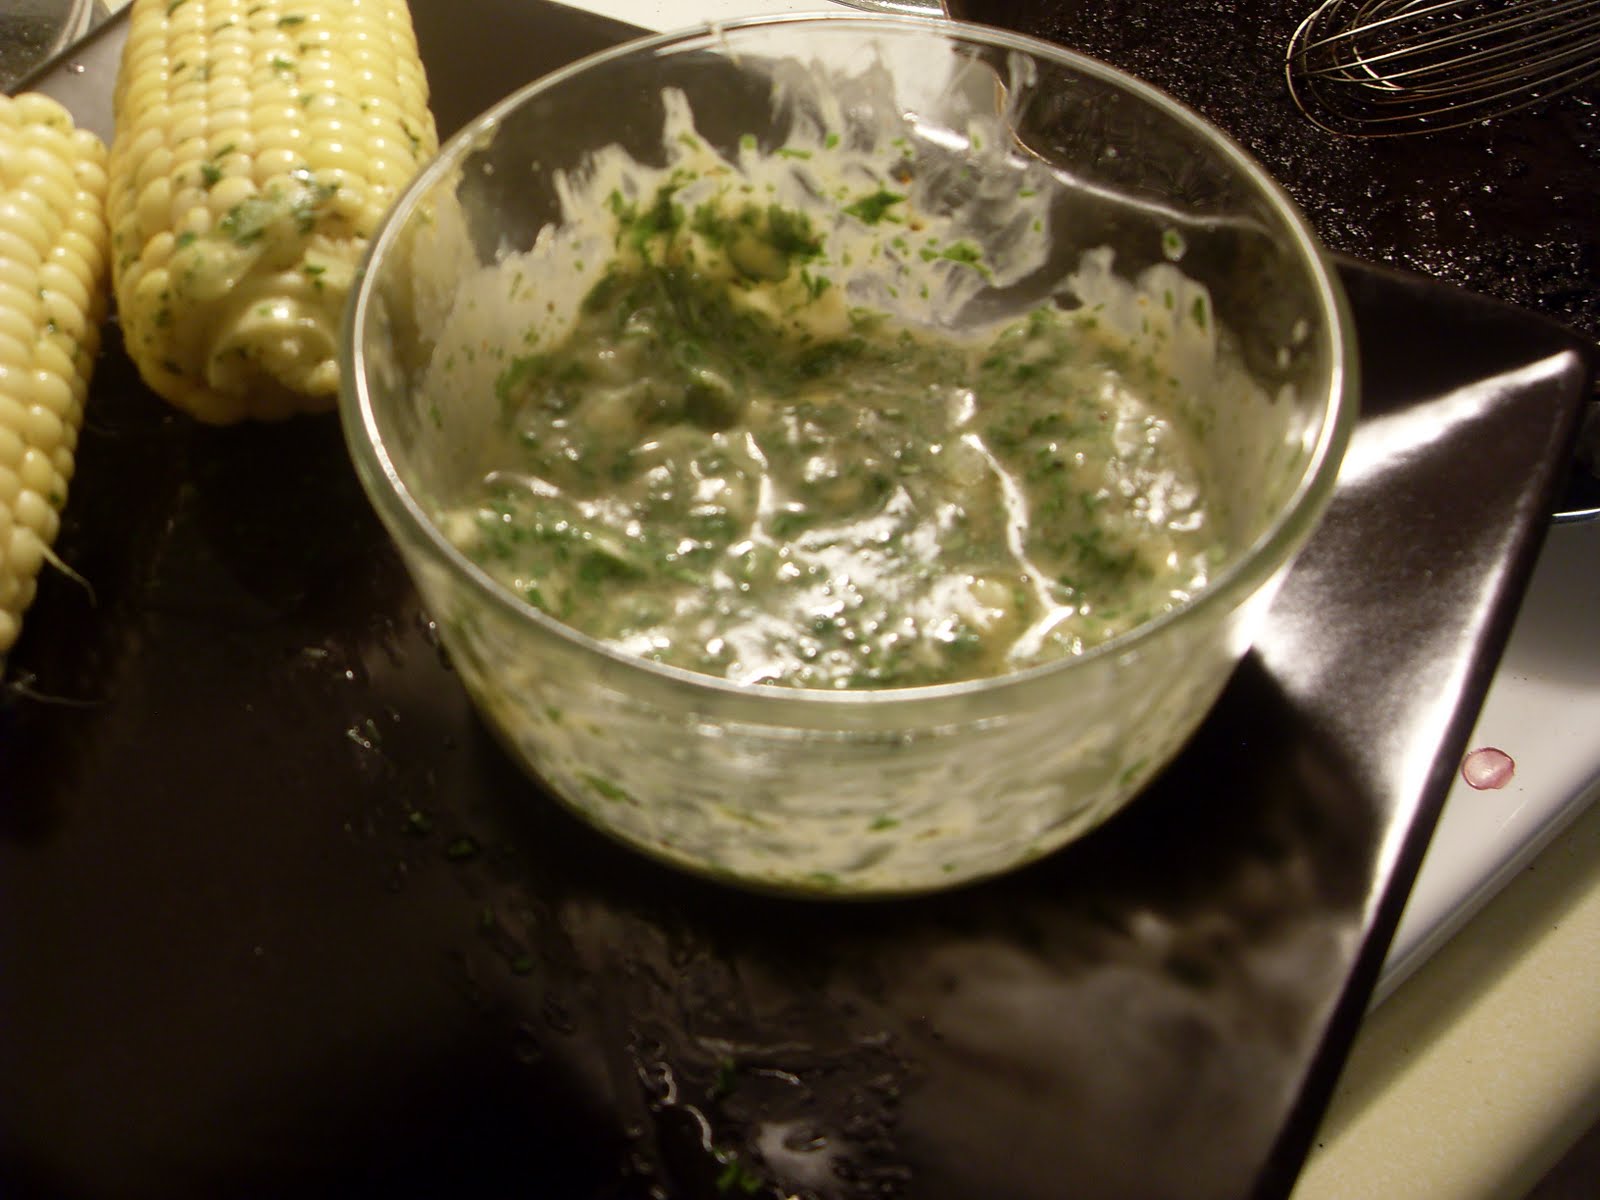
When my husband and I were first married, I had a copy of Cooking Light magazine. I ran across this recipe, and, as usual, over time the recipe has been altered and changed until it reached the recipe that it is today. It's just an easy topping for corn that is very festive and different. I haven't met anybody who didn't like it, and its just the thing to perk up your summer bbq.
The variations are endless, and even if you're not grilling, you can make this in the oven or just boil the corn and add the topping.

Corn with Citrus Butter
Basic recipe
Grill corn in the husk for about 15 minutes on medium heat, or boil corn on the cob for about 8 minutes (5-10)
Melt 1/2 stick butter, add juice from one lime, 1/2 lemon, salt and pepper, 1/2 teasp. cayenne pepper

Variation 1
add a handful of chopped cilantro

Variation 2
add 1/4 cup grated Parmesan cheese

Variation 3
add about 2 Tablespoons thinly sliced jalapenos to the butter before you melt it

Variation 4
double the lime juice, skip the lemon juice, and add cumin, paprika and cilantro

Monday, May 23, 2011

A rose is a rose

It is very important that it sounds good. Have you ever noticed how menu descriptions are? Sometimes they make me giggle because they are redundant or absurd, and sometimes they are outright disturbing. Like the restaurant we ate at for breakfast while travelling through Washington. One of their sides was 'SOS'. 'What's that?' I asked my husband. In a hush voiced he explained it to me. Why would I want to order that?
Maybe its name is deceptive, I thought to my self. Well, sure enough, one of my companions ordered it and I tried it. The thick mass of white gravy was all wrong. Way too much hamburger and no other seasoning. It was very aptly named.
There is also the matter of how much description you use. Names, like "sauteed chicken" sound so boring, while on the opposite end of the spectrum you have names like "Poulet Saute aux Herbes de Provence" which can be discouraging or daunting if you don't speak French, and yet you would be eating the same thing.
I fear I have to gift for fanciful names that inspire people. When I am asked for the names of my dishes I usually reply with something boring like, "chicken, uh....with white sauce?" Somehow I make it sound like a question. My mom is usually the one asking. As she did when I made this dish. It might not sound amazing, but its pretty darn good.

Rosemary Roasted Red Potatoes with Parmasan
5 fist-sized red potatoes (my fist, or about the size of a baseball) 
3 Tablespoons olive oil
2 teaspoons salt
1 teaspoon pepper
2 Tablespoons rosemary, very finely chopped
1/4 cup Parmasan cheese
3 cloves garlic, smashed

Preheat the oven to 400. Cut the potatoes into bite size pieces, try to be uniform in size so they all cook at the same time. I usually cut them in half, then in half again, then cut those pieces into thirds. Place them in a 9x13 baking pan. Drizzle with the olive oil, then sprinkle with the remaining ingredients. Toss to coat. Place in oven. Bake for about 20 minutes, toss, then bake for an additional 20 minutes more. They might need a bit longer. Be sure they are tender when pierced. If they are browning too quickly, cover with foil.

Thursday, April 28, 2011

Easy, Cheesy

A while ago I posted a recipe for au gratin potatoes. It is a no-fail, time tested recipe that is great for company because you can be sure it will turn out great. There are a few extra steps involved, but you can know that it will be done, no crunchy potatoes, you can multiply or divide the recipe and you will end up with the same results.
I have another recipe. This one uses russets, and it is absolutely perfect for a weeknight meal. It's quick, its easy, and it tastes fantastic. Seriously, it tastes so good, I reheated some for myself the next day. As I was eating them, I thought to myself, I need to blog about these potatoes. So, my next thought was, I need to take a picture. I finished the dish of potatoes. I reheated more, took their picture, then proceeded to eat them. I didn't want to waste them, you see.
Let me tell you how easy this recipe is. You peel some russet potatoes, and heat some milk and cream in a pan. Add some spices. Slice the potatoes. Add the potatoes. Cook until soft. Stir in some grated cheddar (or whatever you prefer) dump the whole thing into a buttered 9x13 baking dish and pop in the oven until brown and bubbling. And they're good. Really good. I called my mom and told her about them right away. I am attributing some of their deliciousness to the inclusion of a bay leaf in the milk that you cook them in. It definitely adds a distinct flavor and aroma that I absolutely adore.
I found this recipe in one of my favorite cookbooks, this one, in which the recipe was titled, "Bread-Sauce-Flavored Potato Gratin". I eliminated some of the 'bread sauce' elements, and added cheese. This makes quite a lot, and I would say its too much for 4, but you will want some in the fridge to nibble on later, I am sure of it.

Easy, Cheesy Potatoes
Serves 4, generously
1 cup milk
1 cup heavy cream (I suppose you could use 2 cups half and half or whole milk, and you would just compromise the creamy texture a bit)
1/2 onion, peeled and cut in half again
2 bay leaves
1 Tablespoon salt
2 lbs russet potatoes
1 cup grated sharp cheddar cheese
butter for greasing

Preheat the oven to 425 F.
Put the milk and cream into a large saucepan (you will put the potato in here, also). Add the onion and bay leaves to the pan, and bring them nearly to boiling. Turn off the heat, and put the lid on to infuse the milk.
Meanwhile, peel the potatoes and cut them into 1/2 inch slices. Put them into the saucepan of infused milk and cream, and bring the pan back to a boil with the lid on.
Lower the heat to a simmer, and take off the lid (this will lower the temperature further) if the pan is spluttering too much and erupting down the sides. Cook the potatoes until they are tender, but still firm, about 20 minutes.
Take out the onion and bay leaves and add the cheese, stirring to mix in. Grease a 9x13 dish with butter. Pour the potato mixture into the pan and cook in the oven for about 15 minutes.

Monday, February 21, 2011

Valentine's

As I previously stated, my husband and I traditionally eat in on Valentine's Day. I am going to apologize ahead of time for the lack of the pictures posted here, because my husband took them, and he, generally, has a hard time with my camera. Not that it is at all user friendly. It is something that hopefully will soon be donated to my sister or some other charitable cause and replaced.
I always ask my husband  what he wants to eat on these occasions, and on the menu this year we had: coconut shrimp with marmalade dipping sauce; spring green salad with goat cheese, dried cranberries, and walnuts; Ribeyes (shocker) with herb butter; green beans (shocker) with brown butter; steak fries (shocker); and we finished up with apple turnovers.
I was experimenting with a few recipes that I am going to put on my catering menu, and I am very happy with all of them. I don't think I am going to give you all of those recipes in this post...maybe just one. I think I would like to talk about my journey with french fries.
It started about a year and a half ago, when I started making them at home. They are quite delicious, but they lack the really crispy outside and soft, fluffy inside that makes fries so desirable. The issue I had with, let's just call them 'home-fries', is that they got soggy quickly, and they only had that really crunchy texture when they were far too hot to comfortably eat. I tried several different things, like cutting them very small, frying them longer, bathing them in ice water, etc. I even saw something that suggested boiling them first. I don't quite understand  how they would retain their shape. And, after all that, I still wasn't happy. Why can't I get the texture I want?
Then, last month, Food Network magazine had a little blurb (actually, it was a few pages) about making perfect fries at home. The trick? Fry them a little bit, then freeze the french fries for an hour before frying them for your meal.
Well, why not? I have tried practically everything else. So, I experimented on my husband. I cut the fries like steak fries (basically, oversized half-ovals), used a good amount of corn oil, mixed with bacon grease and fried them for about two minutes. I placed them on a baking sheet lined with paper towels and popped them in the freezer. As a side note, this was really helpful because you can't cut potatoes ahead of time without them turning all rusty. This way, they were half-way done and I had more time for other last minute prep. So, I fried them up, and they were pretty amazing! If you want you can throw them on a baking sheet and keep them in a 200 or 250 degree oven for about 15 minutes while you finish frying up the rest. I was pretty impressed. Definitely a keeper!

Steak Fries
2 lbs russet potatoes, peeled if desired
3 cups oil, grease, lard, or fat
1 Tablespoon each of : salt, paprika, Parmesan cheese

Slice potatoes into fries, transferring to a bowl of tepid water as you go. Cut fries by cutting them in half lengthwise, then lay each cut side down and slice lengthwise into 1/4-1/2 inch slices. Stack about half the slices and cut lengthwise into 1/4 to 1/2 inch fries. Repeat with the rest. Heat 2 inches of the oil in a deep wide pot over medium heat until it registers 375.
Drain and dry the potatoes. Add half the potatoes to the pot and fry, stirring gently, until they soften and blister, 3 to 4 minutes (do not let them color). Remove with a slotted spoon or skimmer to a paper towel-lined baking sheet. Repeat with remaining potatoes. Transfer to the freezer until firm, at least 1 hour.
When ready to serve, reheat the oil to 375 over medium-high heat. Working in 4 small batches so the oil stays hot, fry the potatoes until golden brown, about 5 minutes. Transfer to fresh paper towels to drain. Combine salt, paprika, and Parmesan in a small bowl. Sprinkle over fries.

Popular Posts

RECOMMEND US!!